Web Server in your pocket?
Hosting a website on your Android phone is feasible and surprisingly simple! Here’s how you can set it up using Termux, a powerful terminal emulator.
Termux
If you haven’t already, install the Termux app on your phone. It allows you to run a web server among other Linux-based commands. If you’re unable to install it via the Google Play Store, download it from F-Droid, an alternative app store that exclusively hosts open-source apps.
Setup and Web Server
Update your system:
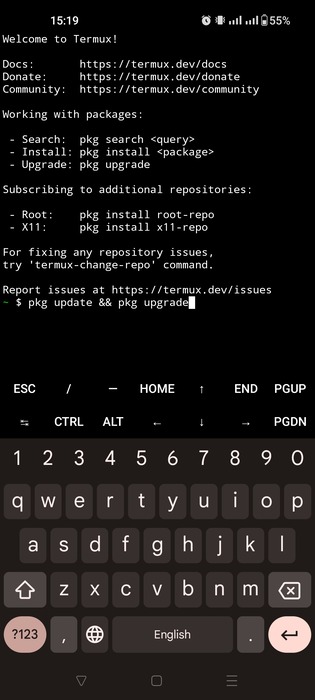
Open Termux app and update the system.
pkg update && pkg upgrade
Install necessary packages: We need to install a few packages to run our web server and to make the setup process smoother.
Openssh
Let’s start by installing openssh to SSH into your phone from a computer, and nmap to check open ports on your device.
pkg install openssh nmap
Enable SSH and check your username:
$ sshd
$ whoami
u0_a480
Here, u0_a480 is your username.
Set a password:
passwd
You’ll be prompted to enter a new password.
Connecting to your phone:
Ensure your phone and computer are connected to the same WiFi network. Check your phone’s IP address in your phone settings, and use nmap to find the SSH port.
nmap -sV 127.0.0.1
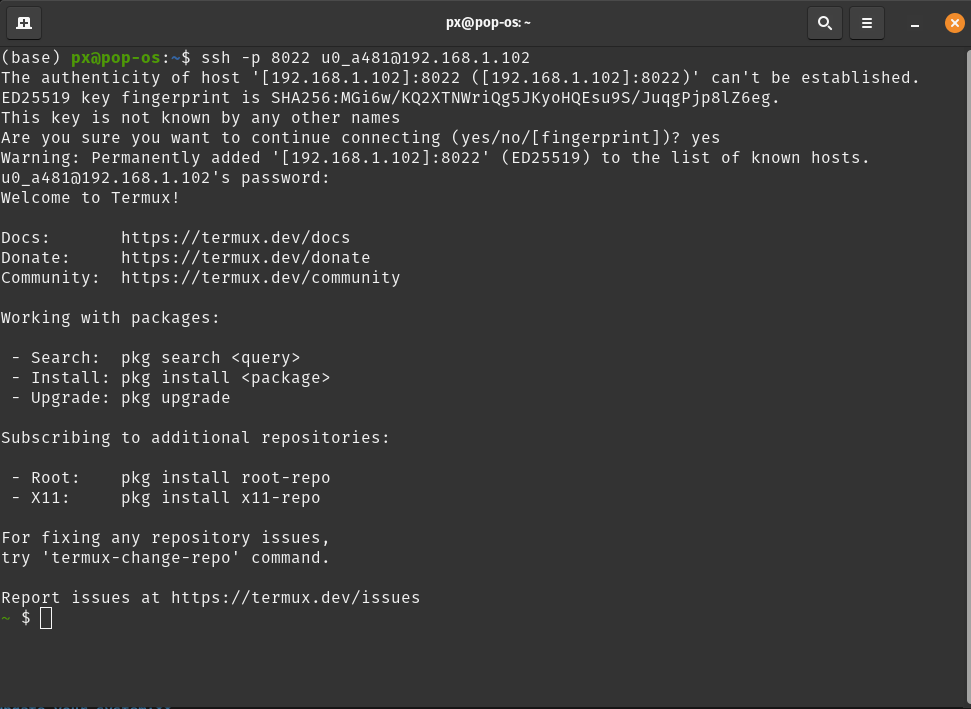
From your laptop - Connect to your phone:
ssh -p 8022 [email protected]
Install Python and Git:
pkg install python git
Install Flask:
pip install flask
Prepare your project directory:
Create new folder with mkdir, I’ll call it apps and navigate to the apps directory:
mkdir apps
cd apps
For this guide, let’s use a sample Flask project from GitHub:
git clone https://github.com/consensual-hallucination/meme-app.git
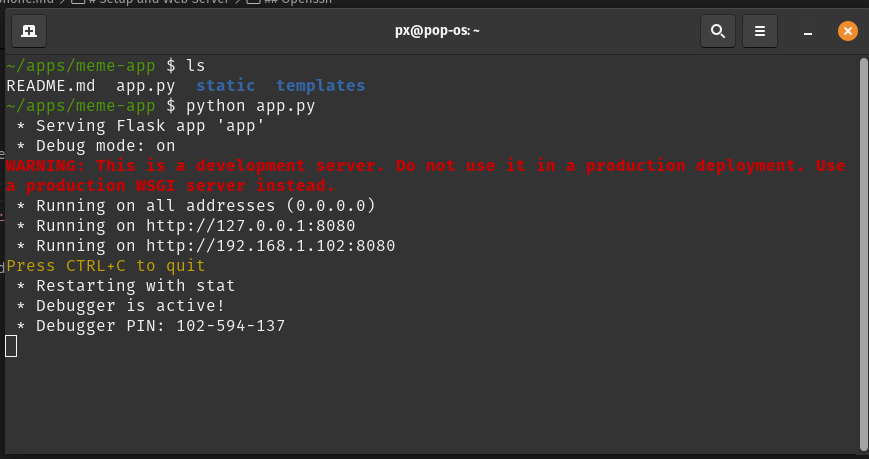
Navigate to the project directory and run the Flask app:
cd meme-app
python app.py
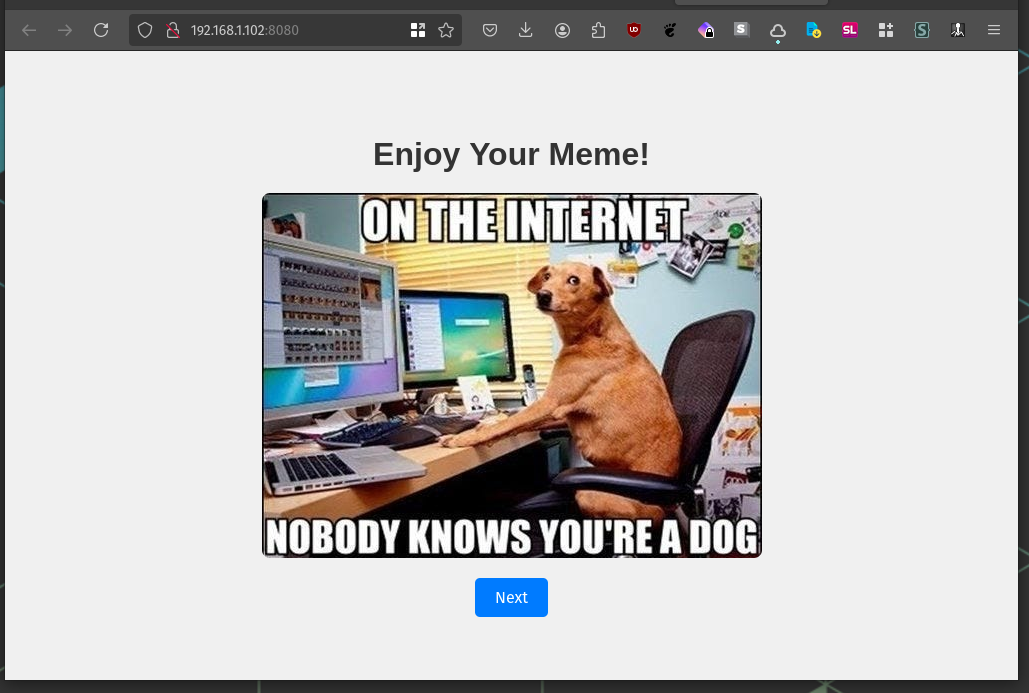
Your web server will now be up, serving your web app.
You can access it via a browser on your computer.

Expanding Your Reach
If you wish to make your web app accessible from anywhere on the internet, consider utilizing a tunneling service. Options like Ngrok, Cloudflare Tunnel, or Pinggy provide an easy setup to expose your local server to the internet securely. These services handle the complexities of network configuration, such as NAT traversal and public IP handling, allowing your web app to be accessible via a public URL.
For those interested in a more hands-on approach, self-hosting your tunneling service is also feasible. Numerous open-source projects available on GitHub can help you set up your infrastructure. These solutions often require a bit more technical expertise, as you’ll need to manage server configuration, security, and possibly domain name handling.